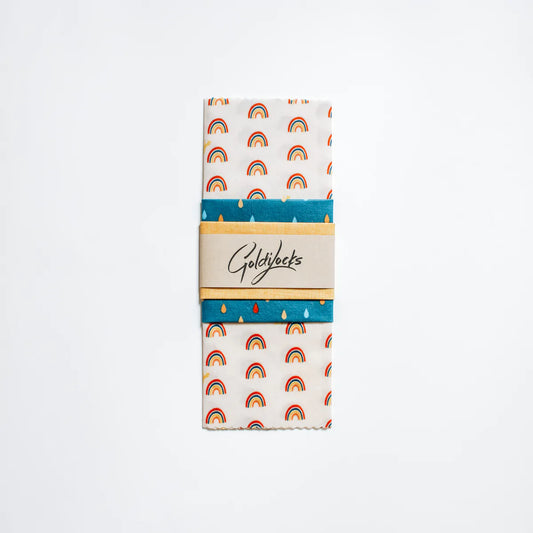
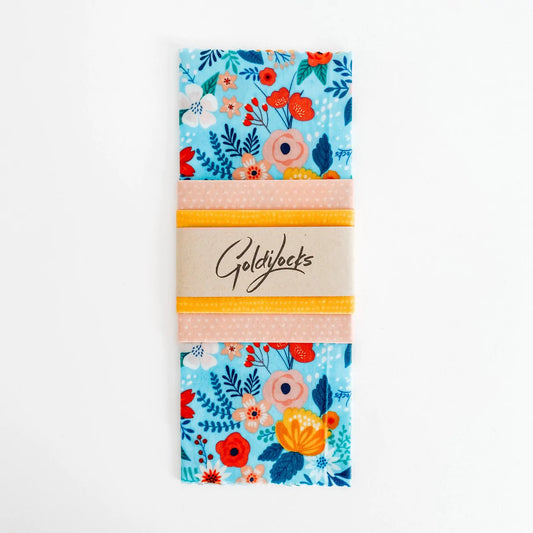
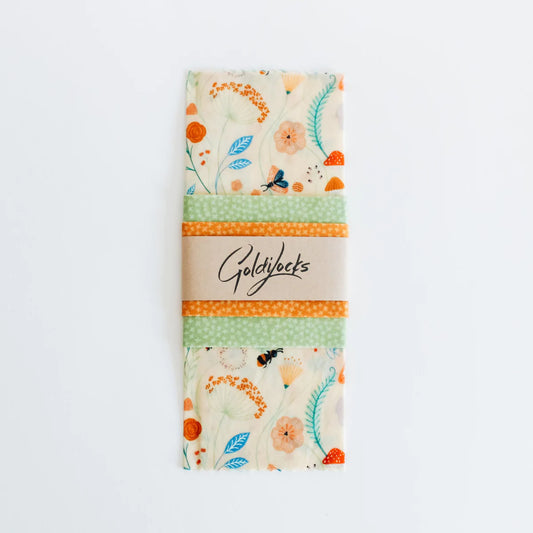
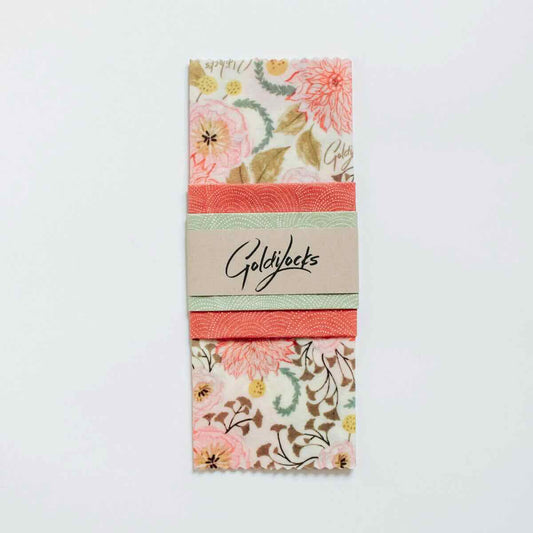
Beeswax wraps are a versatile and sustainable alternative to plastic wraps, but over time, the wax may start to lose its stickiness and become less effective at keeping food fresh. To ensure your wraps continue to work properly, it's important to refresh them every few months, or as needed.
Some signs that indicate it's time to refresh your beeswax wraps include:
-
Decrease in stickiness: If your wraps are no longer sticking to itself or to the food, it's a sign that they need to be refreshed.
-
Loss of shape: If your wraps are becoming misshapen or are not holding their shape, it's time to refresh them.
-
Change in texture: If your wraps are becoming harder or more brittle, or if the wax is cracking, it's a sign that they need to be refreshed.
-
Decreased effectiveness: If your wraps are no longer keeping food as fresh as they once did, it's time to refresh them.
In this blog post, we'll show you how to refresh your beeswax wraps using a blow dryer or iron. By regularly checking for these signs and following the steps outlined in this blog post, you can help to ensure that your beeswax wraps continue to work effectively and last as long as possible.
Using a Blow Dryer
Check out our video for a visual guide on how to refresh your beeswax wraps. Our video guide walks you through the process of using a blow dryer, helping anyone looking to keep their wraps in tip-top shape.
Here is the step-by-step guide to refreshing beeswax wraps using a blow dryer:
-
Clean Beeswax Wrap: Before you start, make sure the beeswax wrap itself is clean and dry.
-
Gather your supplies: You will need your beeswax wrap, a blow dryer, and a sheet of parchment paper or a cloth.
-
Place the wrap on the parchment paper or cloth: Lay the wrap flat on the parchment paper or cloth, making sure it is smooth and without any wrinkles.
-
Turn on the blow dryer: Set the blow dryer to the medium/high heat setting depending on the blow dryer. The temperature needs to be high enough to melt the wax.
-
Hold the blow dryer 6-8 inches away from the wrap: Use the blow dryer to gently warm the wrap, holding it 6-8 inches away from the wrap. Move the blow dryer back and forth, covering the entire surface of the wrap.
-
Watch for the wax to melt: As the wax begins to melt, you will notice it becoming shinny and more pliable. Continue blowing hot air over the wrap until the wax has melted evenly. The hot air will also move the wax around to redistribute it across the wrap.
-
Allow the wrap to cool and solidify: Hold the edge of the wrap in the air using your fingers, and air dry. It will take less than a minute for the wrap to cool and solidify. Be careful not to burn your hand with hot wax. Do not touch the wrap until it has cooled completely.
-
Repeat if necessary: If the wrap still doesn't look as good as new, repeat the process.
Using an Iron
For a more hands-on approach to refreshing your beeswax wraps, check out our step-by-step video below. It guides you through the steps of refreshing your wraps using an iron.
Here is the step-by-step guide to refreshing beeswax wraps using a blow dryer:
-
Clean Beeswax Wrap: Before you start, make sure the beeswax wrap itself is clean and dry.
-
Gather your supplies: You will need your beeswax wrap, an iron, an old kitchen towel/cloth, 2 sheets of parchment paper.
-
Bigger parchment paper: When refreshing your beeswax wrap with an iron, it's important to have parchment papers that are larger than the wrap. Make sure the parchment papers are at least 2 inches wider and longer than the wrap. This will prevent any melted wax from seeping into the iron or ironing board and causing damage to either surface.
-
Place the wrap on the cloth and parchment paper cloth: Lay the one of the parchment sheet on top of the kitchen towel/cloth, and then lay the wrap flat on the parchment paper, the cover it with the 2nd parchment paper. Making sure they are all smooth and without any wrinkles.
-
Set iron on hot and No Steam: Gently move your iron across the wrap and you'll actually see the wax moving underneath. Make sure you don't leave the iron in the same place for too long as it could burn the wax and the wrap.
-
Cover all the edges: Make sure you move the iron around covering all the edges.
-
Place the iron away in a safe place: You should only need to iron across the entire wrap 2-3 times before the wax is fully re-distributed. Put the iron away from you once finished.
-
Allow the wrap to cool and solidify: Peel off the top layer of the parchment paper. Hold the edge of the wrap in the air using your fingers, and air dry. It will take less than a minute for the wrap to cool and solidify. Be careful not to burn your hand with hot wax. Do not touch the wrap until it has cooled completely.
-
Repeat if necessary: In an unlikely event if the wrap still doesn't look as good as new, repeat the process.
Re-Waxing Your Beeswax Wraps
While refreshing your beeswax wraps can help extend their life, eventually they may need a little extra TLC in the form of adding more wax. Over time and with frequent use, the wax on the wraps can break down and lose its ability to properly adhere to the fabric. If you notice that your wraps are no longer sticking as well as they used to even after you have refresh them using the methods above, it may be time to add some fresh wax to them.

By adding fresh wax to your beeswax wraps, you can further extend their life and ensure they continue to keep your food fresh and protected. This can be done in two ways:
- This can be done by melting additional beeswax and brushing it onto the wraps with a pastry brush.
- Grate enough beeswax shavings to lightly sprinkle over the beeswax wrap and use the iron method above to melt the additional beeswax.
This beeswax refresher bar from Goldilocks Goods is designed to extend life to your existing wraps significantly, one bar refreshes at least 10-20 wraps, depending on the size of the wraps.
Keeping your beeswax wraps in good condition is important to ensure they last as long as possible and continue to provide a sustainable alternative to plastic wrap. Refreshing your beeswax wraps using a blow dryer or iron and re-waxing them when necessary are simple steps that can greatly extend their life and help you get the most out of your investment.
Shop our beeswax food wrap collection for some of the best Canadian made beeswax wraps.
